How to Make AI Videos with Claude Opus 5.5 [Full Guide 2026]
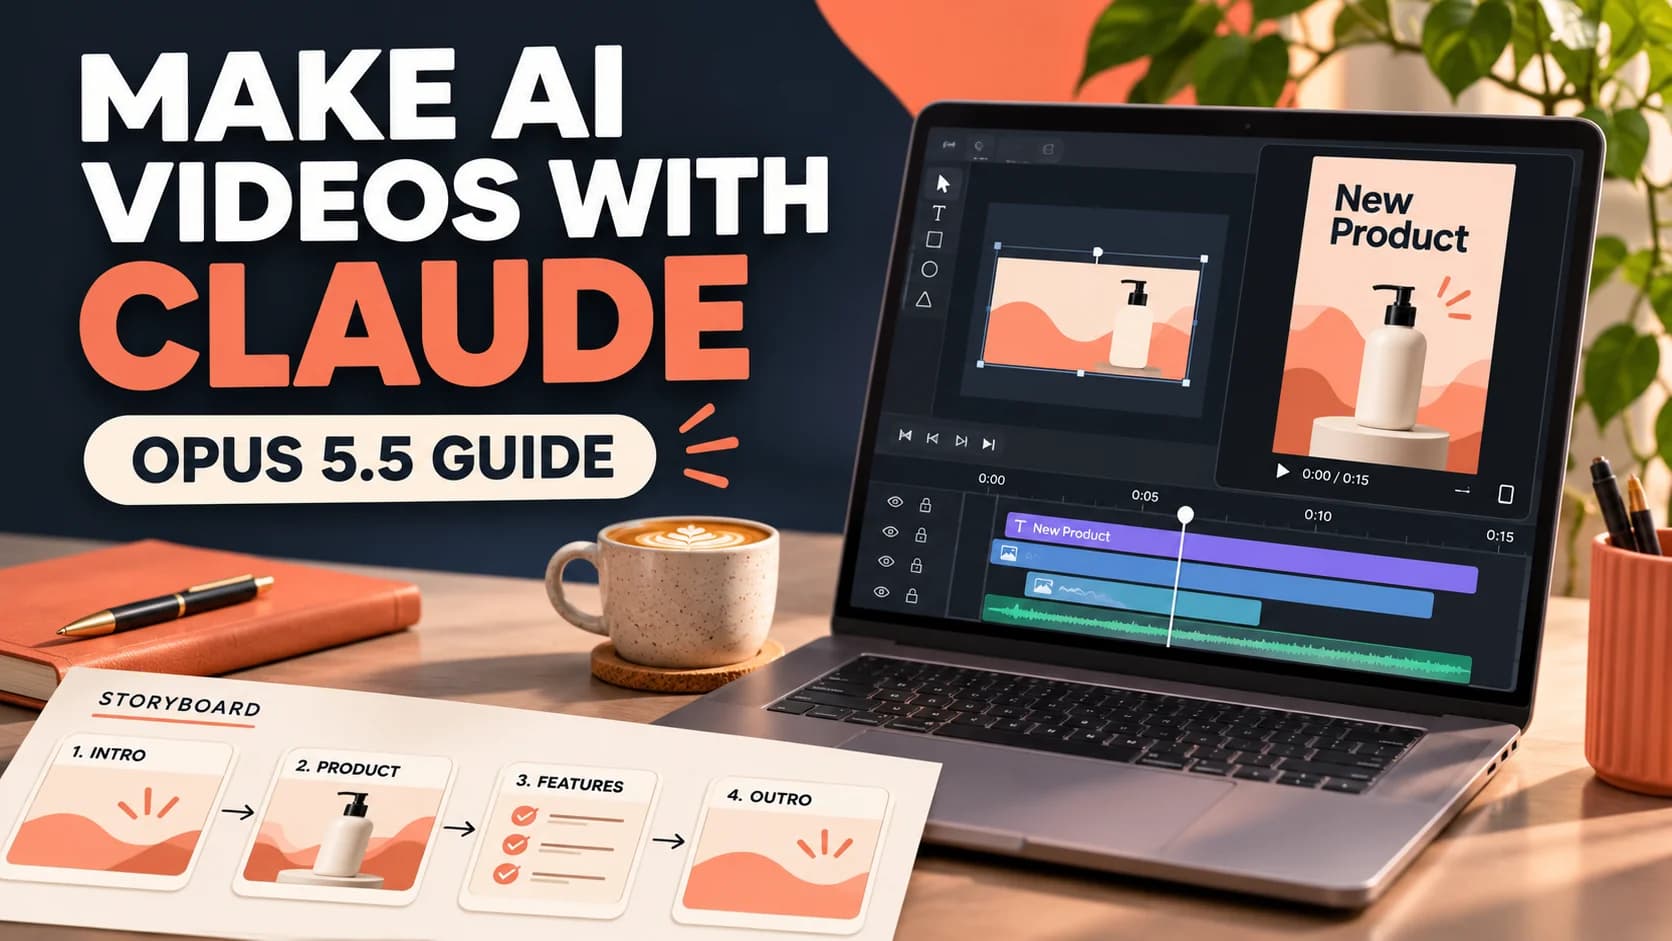
Your product is ready to launch. Now you need a video that shows what it does, looks like your brand and catches someone's eye before they scroll past.
Claude Opus 5.5 can help you make one. Give it your message, screenshots and a creative direction, and it can build animated scenes, arrange them into a short video and help you refine the result. That opens the door to product teasers, social videos and explainers without building every animation by hand.
In this guide, we'll walk through a practical way to create motion videos with Claude, from your first brief to a reusable production workflow. You'll find prompts for a product launch, a YouTube Short and an explainer, plus a checklist for reviewing the finished video.
TL;DR: How do you make a video with Claude?
Use Claude Opus 5.5 to plan your video and write the animation. Then use a renderer to turn the animation into an MP4. With Claude Code and the right tools installed, Claude can help build and run that workflow.
- Choose one message and gather your logo, screenshots and brand colors.
- Ask Claude for a short storyboard and an animated first draft.
- Render a preview, review the visuals and request changes.
- Export the final video and check it with sound on and off.
- Save the project as a template if you want to make more videos.
This approach is especially useful for animated text, interface demos and branded graphics. For realistic generated footage, explore a dedicated AI video generator; you can combine that footage with a Claude-assisted motion design workflow.
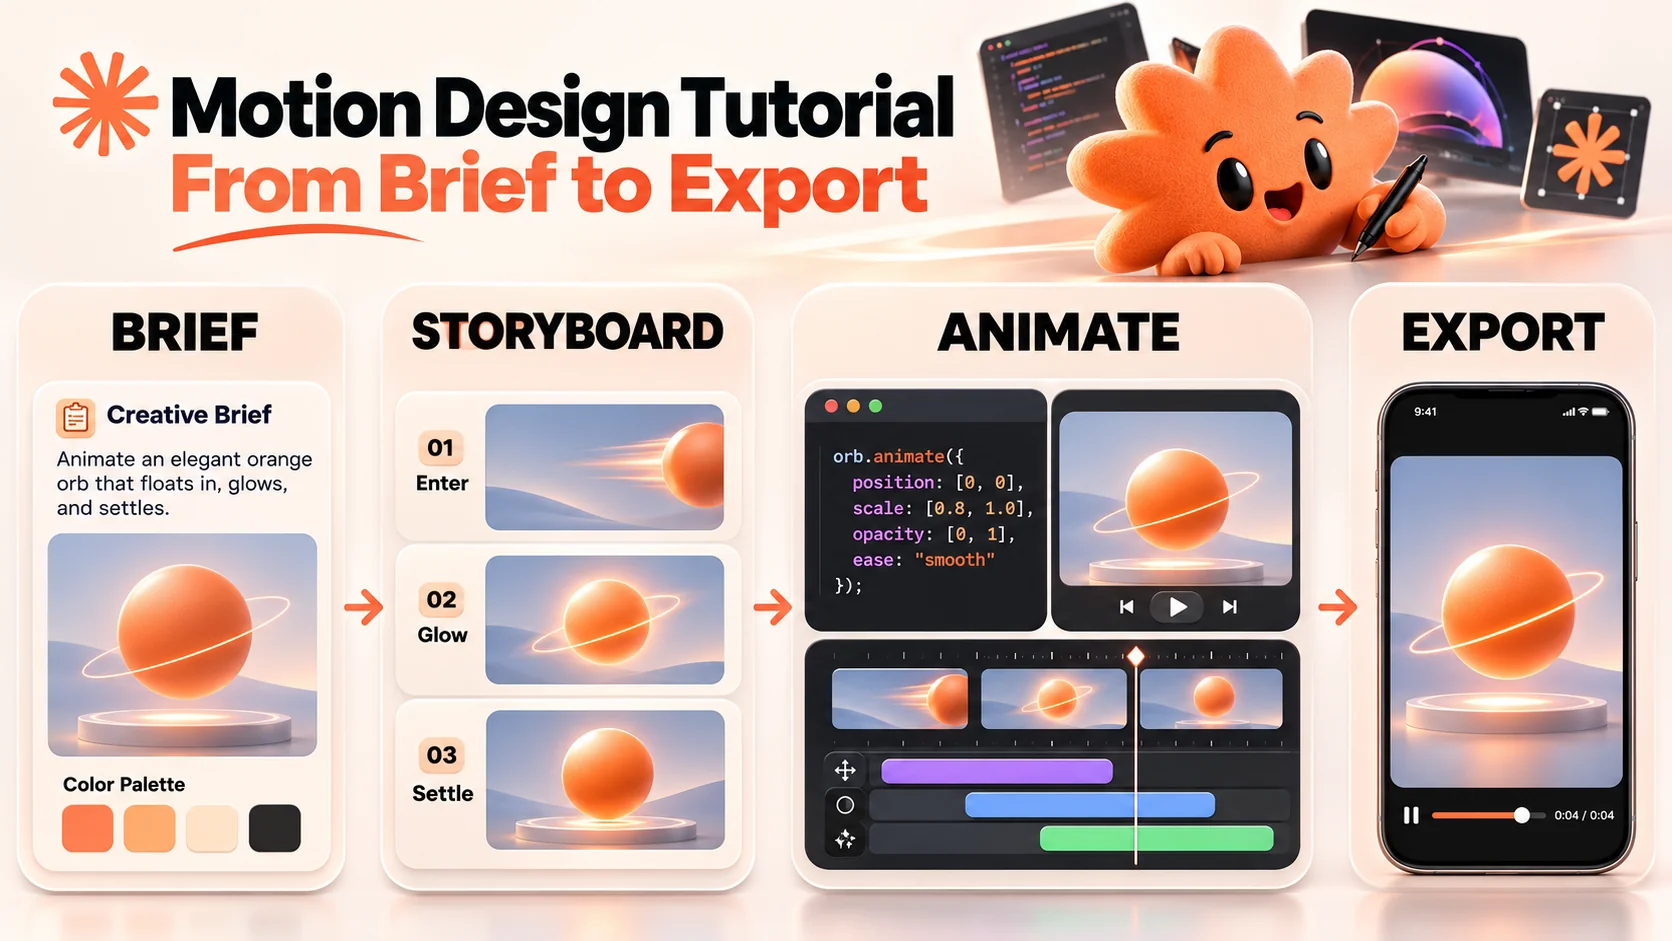
What kind of AI videos can you create with Claude?
| Your goal | A useful first video | Assets to prepare |
|---|---|---|
| Launch a product | A short teaser showing the problem, product and next step | Logo, product screenshots, landing page URL |
| Explain a feature | A screen-led animation showing one action and its result | Screenshots or a recording of the feature |
| Create a Short or Reel | A vertical video with one idea and large captions | Script, brand colors, optional voiceover |
| Present data | An animated chart or visual explainer | Verified figures and their sources |
| Make a series | A reusable layout with a new message for each episode | Template, approved copy and images |
The key distinction: Claude writes and reasons about the content and code; a separate tool renders the video. Anthropic describes Opus 5.5 as accepting text and images and producing text-based output. The workflow below uses code to create motion graphics, rather than asking Claude itself to generate photographic video frames. Source: Anthropic.
How to make AI videos with Claude Opus 5.5
1. Start with one clear outcome
Decide what the viewer should understand or do after watching. “Show founders how our scheduling tool saves them a step” is easier to turn into a strong video than “make our product look impressive.”
Write down your audience, main message, desired action, target platform and approximate length. For your first attempt, a short piece with three or four scenes is easier to review than a long film.
2. Collect your real assets
Give Claude the materials it needs: your logo, brand colors, screenshots, approved text and any music or voiceover you have permission to use. If you include a statistic or customer quote, supply the verified source and exact wording. Don't ask the model to invent proof.
A visual reference helps too. Describe what you like about its pacing, typography or color, and ask for an original treatment rather than a copy of someone else's work.
3. Ask for a storyboard before the animation
A storyboard lets you fix the story before spending time on the render. Try this prompt in Claude:
Help me plan a short video for [PRODUCT / TOPIC].

Audience: [WHO IT IS FOR]
Main message: [ONE IDEA]
Desired action: [CTA]
Platform and format: [E.G. VERTICAL YOUTUBE SHORT, 9:16]
Length: [DURATION]
Assets available: [LOGO, SCREENSHOTS, COLORS, AUDIO]

Propose a scene-by-scene storyboard with on-screen copy, visual direction,
timing and sound suggestions. Make the opening immediately clear to the
intended audience. Use only the facts and assets I provide. Ask me for any
missing information before inventing a claim.
Read the storyboard as if you know nothing about the product. Can you tell what it does and why it matters? Tighten the message before moving on.
4. Build the motion video with Claude Code
Claude Code is Anthropic's coding agent. In a project folder, it can help create the animation and run the tools needed to render it. You'll need access to Claude Code and Opus 5.5, plus a working development environment. Availability, usage limits and costs depend on your plan and configuration.
One approach is to use Node.js, Playwright and FFmpeg: Claude creates an animated page, Playwright captures its frames, and FFmpeg combines those frames into a video. A framework such as Remotion is another option for reusable video templates. Follow each tool's current installation instructions for your operating system.
Open Claude Code in a dedicated project folder, select Opus 5.5 if available, and provide your approved storyboard and assets. Then try:
Use the approved storyboard and assets in this project to create a [DURATION]
second motion-graphics video in [FORMAT AND DIMENSIONS].

Use [Playwright and FFmpeg / Remotion] to render an MP4. First inspect the
project and tell me which dependencies are missing. Explain any commands before
running them. Build a short preview first, then provide a contact sheet of key
frames and the path to the preview file.

Use the supplied screenshots and exact copy. Do not invent product features,
statistics or testimonials. Keep text readable on a phone and leave room for
platform interface elements. Do not add music unless I provide a licensed track.
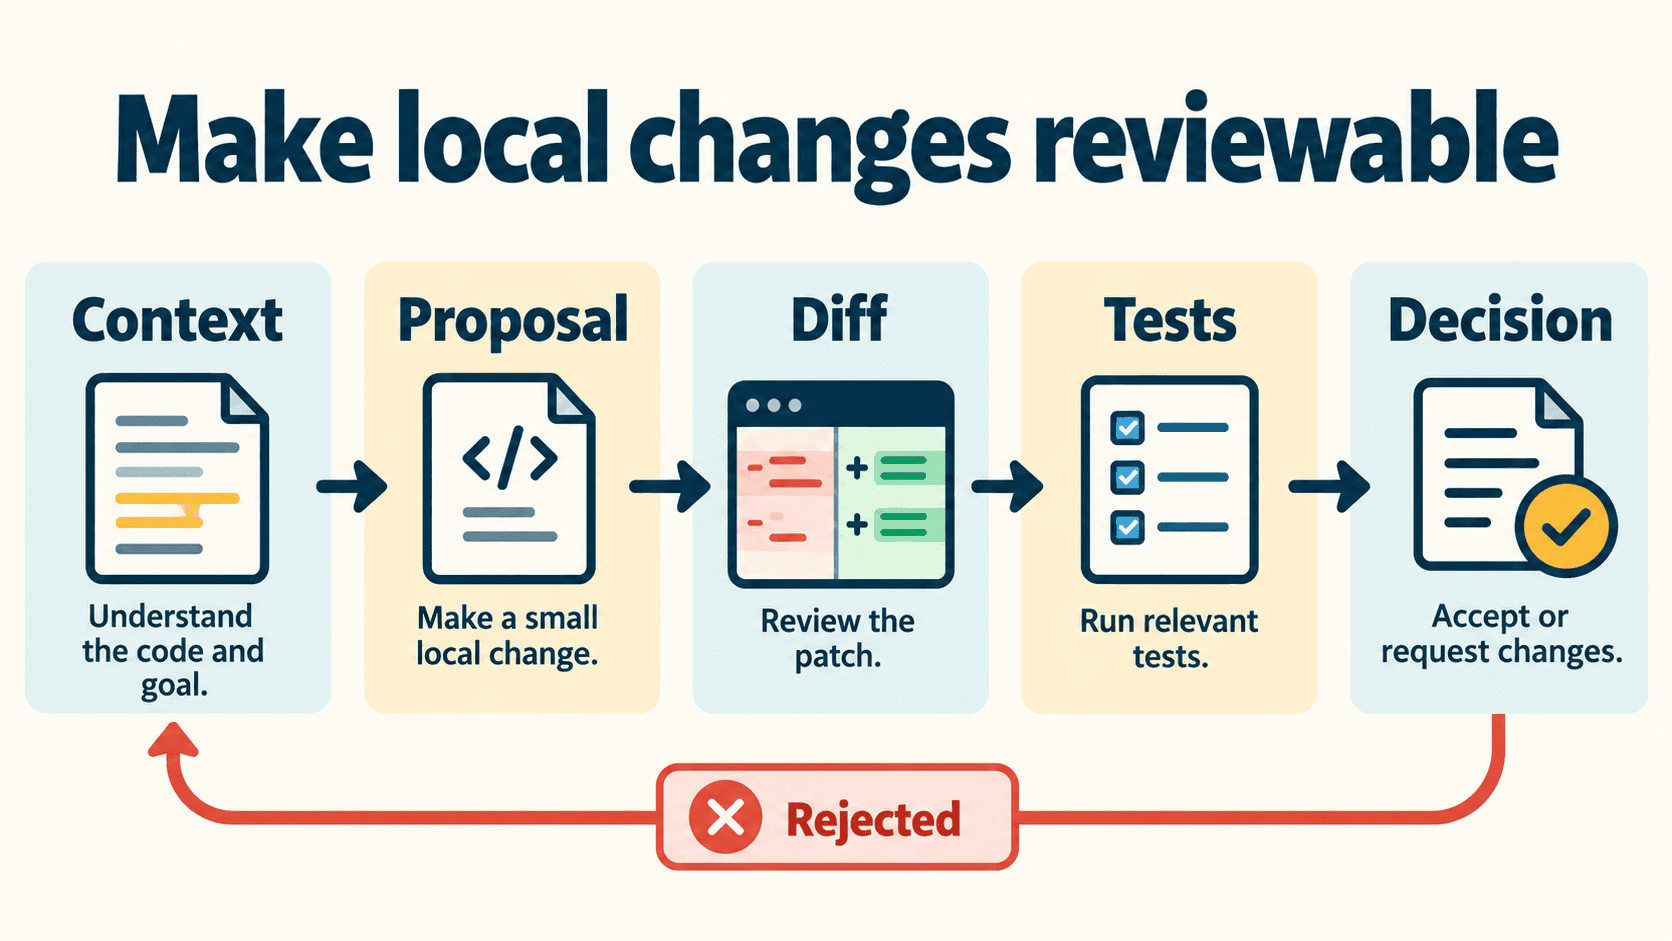
Review commands and project changes as you go. The precise setup and rendering steps depend on your computer and chosen tools; ask Claude to explain any error in plain English and suggest a fix.
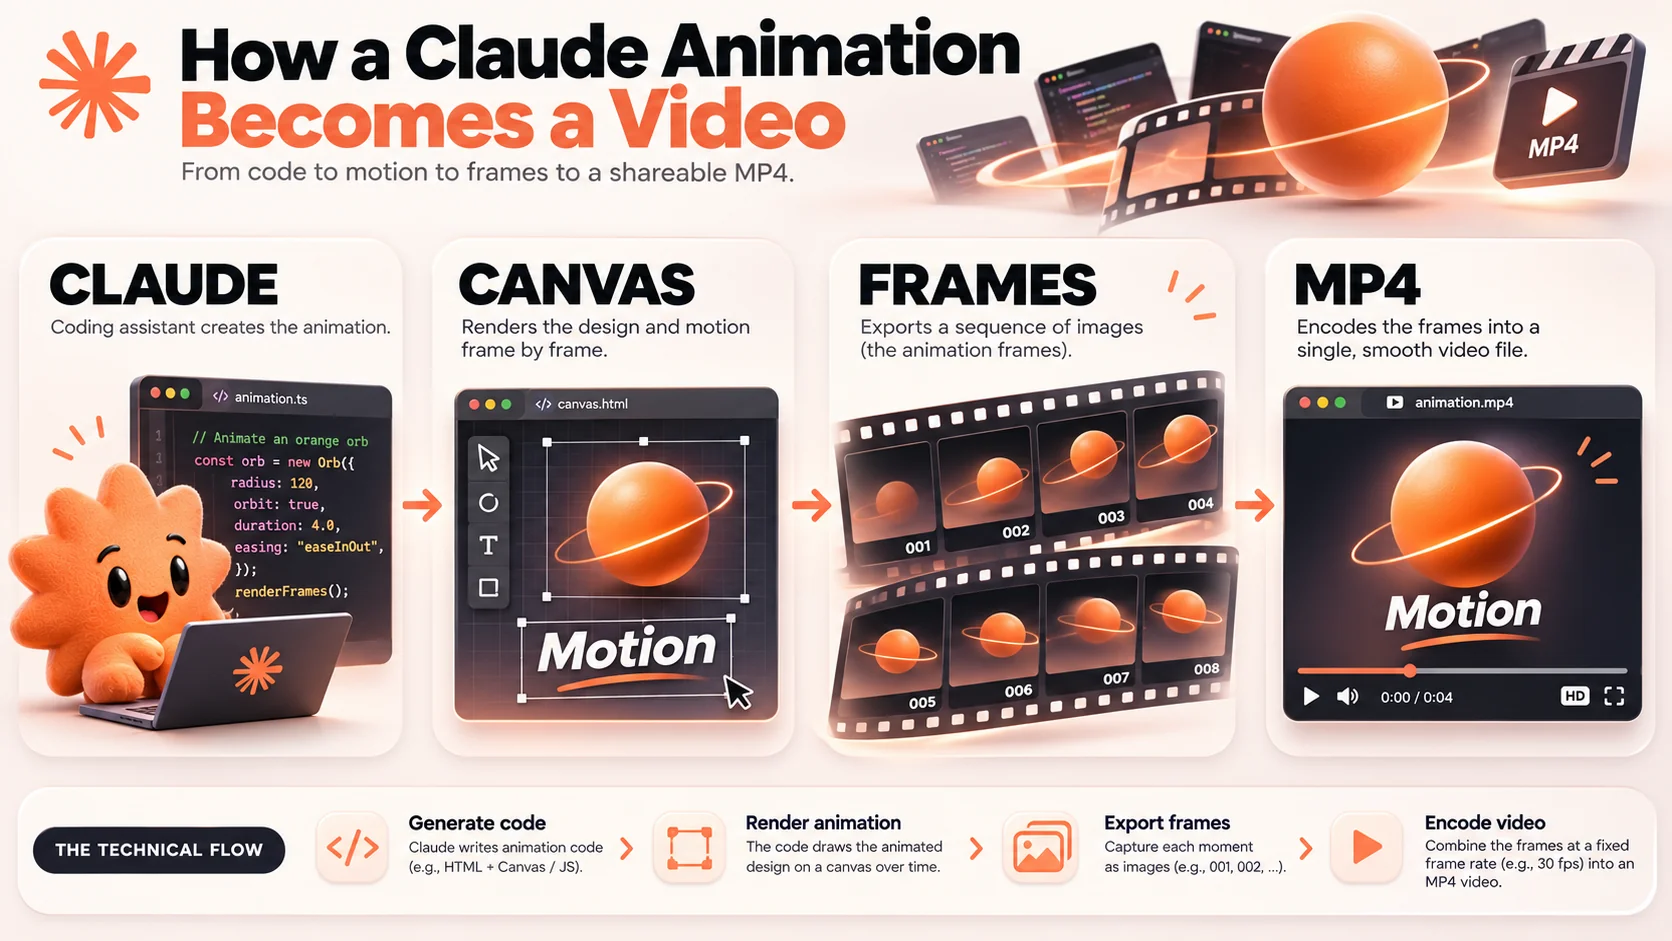
5. Review the preview and improve it
A contact sheet is a grid of frames from different moments in the video. It makes missing assets, crowded layouts and inconsistent branding easier to spot. It cannot tell you whether the motion feels smooth or the sound is well timed, so watch and listen to the actual preview too.
Ask Claude for specific changes: “Make the opening headline larger,” “Hold the dashboard on screen longer,” or “Move the call to action away from the bottom edge.” Then render another preview and check it again.
6. Export and check the final file
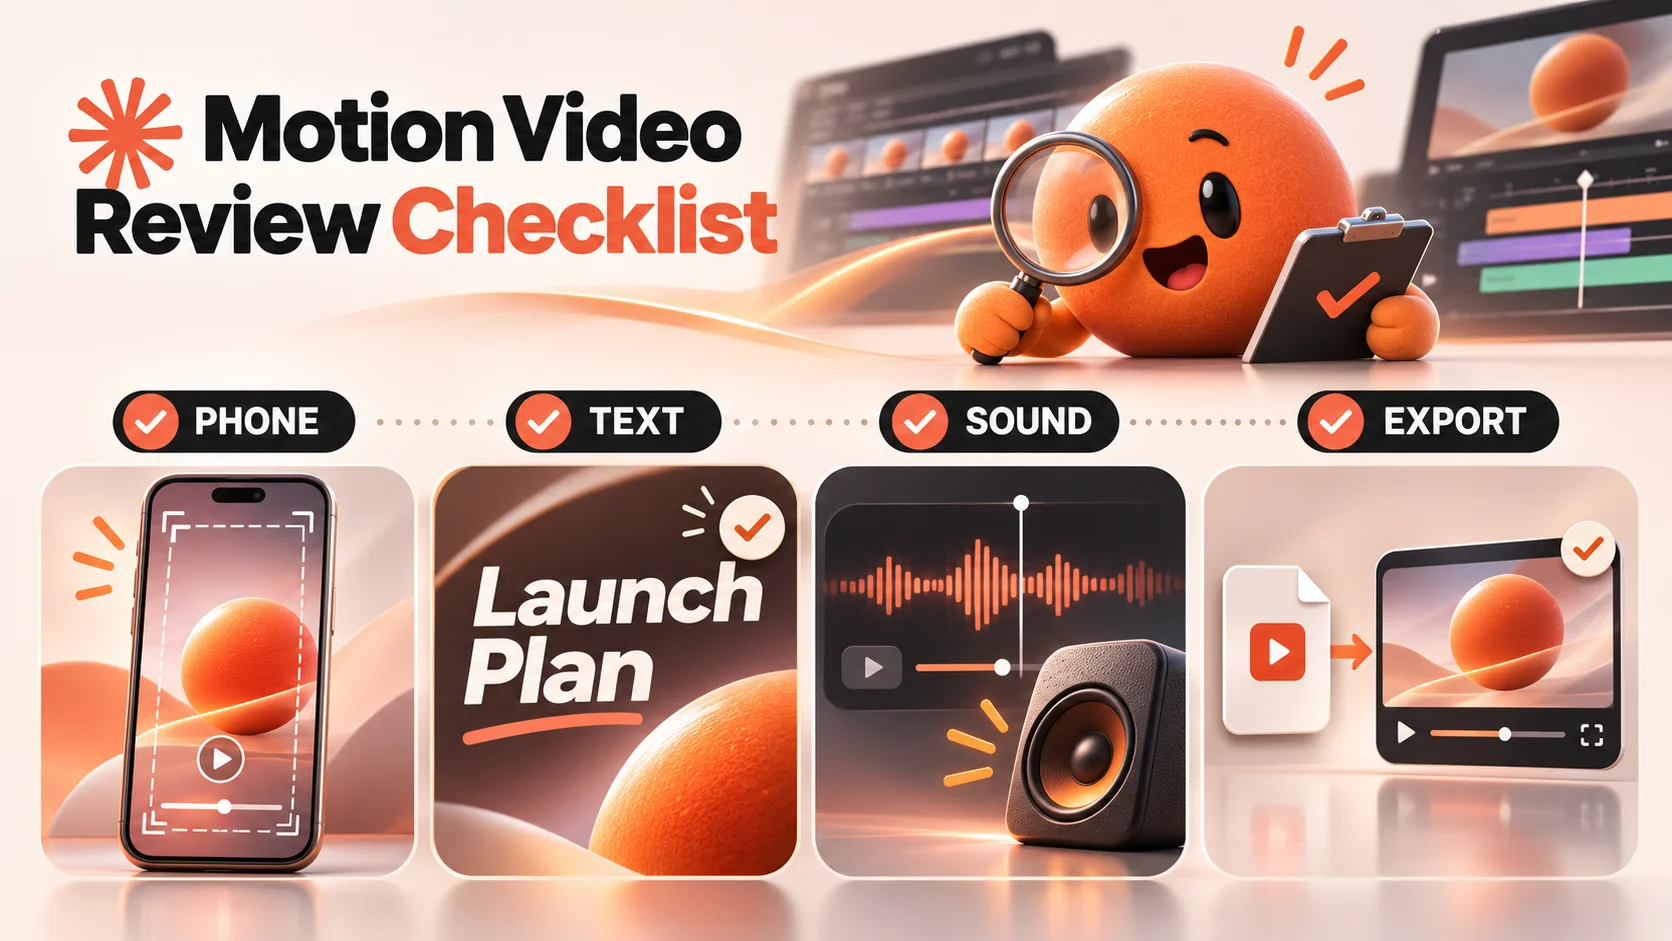
Ask for an MP4 in the dimensions you need. Watch the exported file on a phone and a larger screen. Check the first few seconds, spelling, product details, audio levels and final call to action. If you're publishing on several platforms, review each aspect ratio separately: a vertical layout rarely becomes a strong horizontal video through resizing alone.
Advanced: build the frame-by-frame renderer
For readers who want to see the mechanics, this example adapts the first draft's canvas and Playwright approach. It makes a seven-second silent vertical animation with two scenes. It is a starting point to customise, not a finished product video. Install Node.js, FFmpeg, and Playwright; ask Claude Code for platform-specific installation help.
In a new project folder, install Playwright and its browser:
npm init -y
npm install --save-dev playwright
npx playwright install chromium
Save this as index.html. seek(t) draws the frame at a given time; Claude can help you replace the sample scenes with your own. The font falls back to a system serif unless you install and load the named font.
<style>
  html, body { margin: 0; background: #121110; }
  canvas { display: block; }
</style>
<canvas id="stage" width="1080" height="1920"></canvas>
<script>
const W = 1080, H = 1920, DURATION = 7;
const ctx = document.getElementById('stage').getContext('2d');
const clamp01 = (v) => Math.min(1, Math.max(0, v));

// Closed-form damped spring, 0 -> 1. A pure function of time.
function spring(t, stiffness = 180, damping = 28) {
  if (t <= 0) return 0;
  const w0 = Math.sqrt(stiffness), z = damping / (2 * w0);
  if (z < 1) {
    const wd = w0 * Math.sqrt(1 - z * z);
    return 1 - Math.exp(-z * w0 * t) *
      (Math.cos(wd * t) + (z * w0 / wd) * Math.sin(wd * t));
  }
  return 1 - Math.exp(-w0 * t) * (1 + w0 * t);
}

// Seeded noise, never Math.random: the render must be identical every run.
function seeded(seed) {
  let s = (seed >>> 0) || 1;
  return () => {
    s = (s ^ (s << 13)) >>> 0;
    s = (s ^ (s >>> 17)) >>> 0;
    s = (s ^ (s << 5)) >>> 0;
    return s / 4294967296;
  };
}

const SCENES = [
  {
    from: 0, to: 3.5,
    paint(t) {
      const s = spring(t - 0.12, 230, 24);
      ctx.save();
      ctx.translate(W / 2, H / 2);
      ctx.scale(0.62 + 0.38 * s, 0.62 + 0.38 * s);
      ctx.globalAlpha = clamp01(t * 3.5);
      ctx.fillStyle = '#F2EFE8';
      ctx.font = '700 184px "Source Serif 4", serif';
      ctx.textAlign = 'center';
      ctx.fillText('MAKE', 0, -20);
      ctx.fillStyle = '#D97757';
      ctx.fillRect(-340 * s, 46, 680 * s, 16);
      ctx.restore();
    }
  },
  {
    from: 3.5, to: 7,
    paint(t) {
      const rand = seeded(11);
      for (let i = 0; i < 54; i++) {
        const x = (i % 6) * 168 + 120;
        const y = Math.floor(i / 6) * 168 + 340;
        const s = spring(t - i * 0.025 - rand() * 0.12, 250, 21);
        ctx.fillStyle = i % 8 ? '#F2EFE8' : '#D97757';
        ctx.fillRect(x - 58 * s, y - 58 * s, 116 * s, 116 * s);
      }
    }
  }
  // Add one object per shot. Opus appends here.
];

function paint(t) {
  ctx.fillStyle = '#121110';
  ctx.fillRect(0, 0, W, H);
  for (const scene of SCENES) {
    if (t >= scene.from && t < scene.to) scene.paint(t - scene.from);
  }
}
window.seek = (t) => { paint(t); return true; };

// Live preview in a normal browser. Off during the headless render.
if (!navigator.webdriver) {
  const start = performance.now();
  (function preview() {
    paint(((performance.now() - start) / 1000) % DURATION);
    requestAnimationFrame(preview);
  })();
}
</script>
Save this as render.mjs. It captures frames and sends them to FFmpeg. Make sure FFmpeg is available on your command line.
// node render.mjs --fps 30 --dur 7 --sub 1
import { chromium } from 'playwright';
import { spawn } from 'node:child_process';
import { mkdirSync } from 'node:fs';
import { pathToFileURL } from 'node:url';

const flag = (name, fallback) => {
  const i = process.argv.indexOf(`--${name}`);
  return i > 0 ? Number(process.argv[i + 1]) : fallback;
};

const FPS = flag('fps', 30);
const DUR = flag('dur', 7);
const SUB = flag('sub', 1);
mkdirSync('out', { recursive: true });

const browser = await chromium.launch();
const page = await browser.newPage({
  viewport: { width: 1080, height: 1920 },
  deviceScaleFactor: 1
});
await page.goto(pathToFileURL(process.cwd() + '/index.html').href);
await page.evaluate(() => document.fonts.ready);

const filter = `tmix=frames=${SUB},select='eq(mod(n\\,${SUB})\\,${SUB - 1})',setpts=N/${FPS}/TB`;
const ffmpeg = spawn('ffmpeg', [
  '-y', '-f', 'image2pipe', '-framerate', String(FPS * SUB), '-i', '-',
  '-vf', filter, '-r', String(FPS),
  '-c:v', 'libx264', '-crf', '16', '-pix_fmt', 'yuv420p',
  'out/silent.mp4'
], { stdio: ['pipe', 'inherit', 'inherit'] });

const frames = Math.round(DUR * FPS * SUB);
for (let i = 0; i < frames; i++) {
  await page.evaluate((t) => window.seek(t), i / (FPS * SUB));
  const png = await page.locator('#stage').screenshot({ type: 'png' });
  if (!ffmpeg.stdin.write(png)) {
    await new Promise((resolve) => ffmpeg.stdin.once('drain', resolve));
  }
  if (i % (FPS * SUB) === 0) console.log(`${i / (FPS * SUB)}s / ${DUR}s`);
}
ffmpeg.stdin.end();
await new Promise((resolve) => ffmpeg.on('close', resolve));
await browser.close();
Run node render.mjs --fps 30 --dur 7 --sub 1; the intended output is out/silent.mp4. This example has not been independently tested on every operating system. Watch the output, and ask Claude to help diagnose missing dependencies or renderer errors. Add more scenes before increasing the duration; otherwise the extra time will be blank.
Skills and resources
- Claude Code setup and documentation
- Node.js downloads, Playwright library guide, and FFmpeg downloads for the example above.
- Remotion documentation and Remotion agent skills for React-based, reusable videos.
- HyperFrames project and installation instructions for an alternative HTML-based workflow.
Skills are optional instructions for coding agents. Review third-party instructions and installation commands before adding them to your environment.
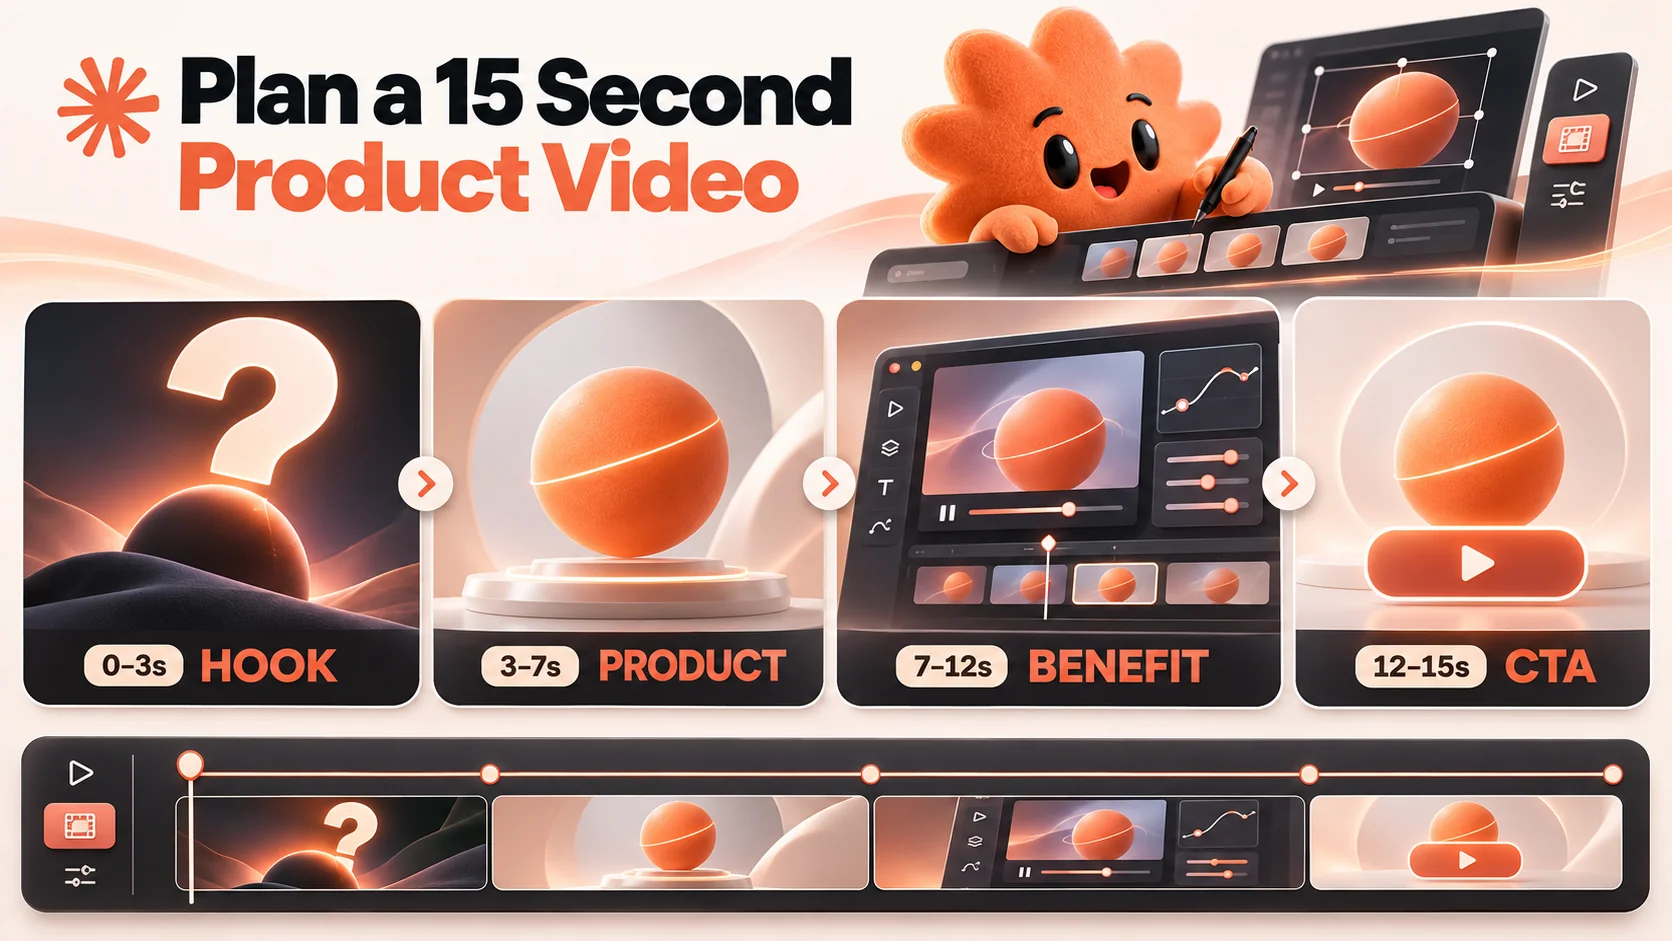
Copy-and-paste prompts for Claude video creation
Create a product launch video
Create a [15-30]-second product launch video for [PRODUCT].
Audience: [AUDIENCE]. The problem: [PROBLEM]. The outcome: [OUTCOME].
Use the provided logo, brand colors and real screenshots in [ASSET FOLDER].

Structure: open with the problem, show the product solving it, highlight one
or two benefits, and finish with [CTA]. Use [VISUAL DIRECTION]. Make a
storyboard first, then create a preview and export an MP4 after I approve it.
Use only claims I provide; flag anything that needs verification.
Make a YouTube Short, Reel or TikTok
Create a vertical 9:16 video about [TOPIC] for [AUDIENCE].
The one thing viewers should learn is [TAKEAWAY]. Start with a clear hook,
then explain the idea in three short visual beats. Use large, readable captions
and keep important text clear of the screen edges. End with [CTA].
Use only these verified facts: [FACTS AND SOURCES]. Show me the script and
storyboard before rendering a preview.
Turn an idea into an animated explainer
Make a [DURATION]-second animated explainer for [CONCEPT].
My audience already knows [CONTEXT] but needs help understanding [QUESTION].
Use a simple analogy, animated labels and no more than [NUMBER] key points.
Base the explanation on these sources: [SOURCES]. Identify any uncertainty
or missing information. Show me the script and visual plan before building it.
How to automate video creation with Claude Opus 5.5
Once a first video works, ask Claude to separate the reusable layout from the changing content. A template might keep the same typography, scene structure and export settings while accepting a new title, screenshot, script and call to action for each video.
Start with a small batch and check every output. A repeatable workflow can reduce repeated setup, but it still needs a review for accuracy, layout, asset rights and audio. Keep your approved source files and record which inputs produced each export, so you can update or correct a video later.
Try this follow-up prompt:
Turn this approved video project into a reusable template. Separate the title,
body copy, image paths and CTA from the animation code. Document the required
input format and the command to render one video. Validate missing inputs and
show an error instead of inventing content. Create one example using only the
approved assets already in this project. Explain how I can review the output.
Claude motion graphics vs. AI video generators
| Approach | Best fit | What to consider |
|---|---|---|
| Claude-assisted code animation | Branded text, UI motion, charts and repeatable layouts | Requires a renderer and review of the animation and code |
| Generative AI video | Creating new visual footage from prompts or images | Check consistency, control and usage terms for the tool you choose |
| Video editor | Arranging footage, audio and graphics on a timeline | Editing effort and automation options depend on the editor |
You can combine approaches: generate or film footage, then use it alongside branded animation. Explore Vantaige's AI video generator collection to compare options for the footage itself.
Frequently asked questions
Can Claude Opus 5.5 generate a video directly?
Claude can help plan a video and write animation code. In the workflow described here, a separate renderer creates the MP4. Connected tools can extend the workflow, so the exact steps depend on your setup.
Can I make a video with Claude without coding experience?
Claude can explain the steps and write code for you, but a Claude Code workflow still involves installing tools, running commands and reviewing the output. Start with a short animation and ask for an explanation whenever a step is unfamiliar.
Can Claude create videos from a product URL?
A tool-enabled workflow can use a public page as a starting point, but check the assets and claims it finds. For the most control, supply approved screenshots, branding and copy yourself.
Can I create YouTube Shorts and social videos with Claude?
Yes. Ask for a vertical layout, give Claude your target duration and review the exported video on a phone. Adapt the composition for each platform and leave space for interface elements.
How much does it cost to make an AI video with Claude?
The cost depends on your Claude access or API usage, the length and complexity of the project, revisions and any other tools or assets you use. Check your plan and the current pricing of each service before starting a larger batch.
Can I add music or voiceover?
Yes. Supply audio you have permission to use and ask Claude to include it in the render. Listen to the final file to check timing and volume.
Your next step
Pick one product, feature or idea and write a three-scene brief. Make a short preview, improve the parts that matter, and save the finished project as the starting point for your next video.
Sources: Anthropic: Introducing Claude Opus 5.5, Anthropic: Claude Code overview, Playwright documentation, FFmpeg documentation, Remotion documentation.
Get the best new AI tools and guides, weekly
One short email a week. The tools worth trying, the guides worth reading, nothing else.
No spam. Unsubscribe anytime.
Aymen B
Contributing writer at Vantaige, covering the AI tools ecosystem.